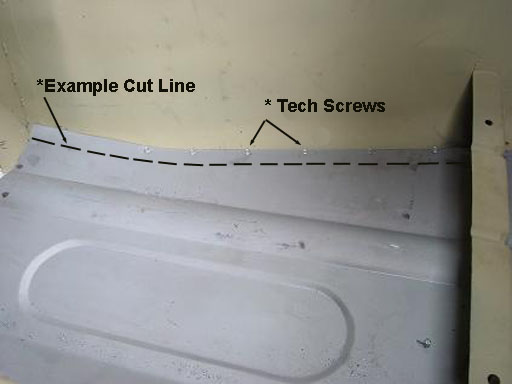
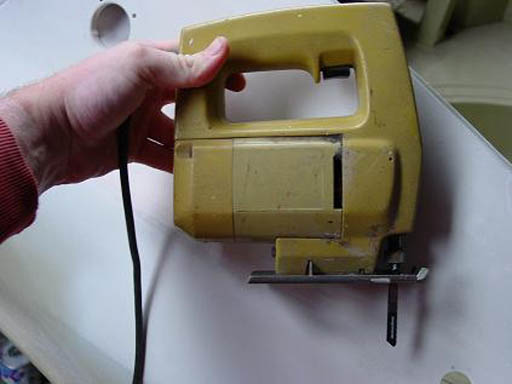
As an alternative you can use an angle grinder with a superfine blade, but angle grinders create sparks, remove fingers and the end result has far more sharp edges than the jigsaw with metal blade cut. As you cut along make sure you are cutting throught both layers and havent moved soo far offline that you are only cutting one layer leaving a big gap to deal with later. Remove the techscrews as you come to them, if using a grinder you could probably just cut through them, but the jigsaw didnt like this.
14: Well now the floorpan is stuck firmly in place, and the correct size so its time for welding. I am using what borders on a "toy" mig welder, but I do beleive at the very least you must have a gas mig, not a gasless, as the material is very thin.
I have found .6mm welding wire to be the best/only wire I could get to work any thinner and the weld sits ontop and thicker and you blow holes everywhere. My floorpans were also made from a zinc coated material, and for safety/spattering reduction it pays to grind this off in the area where you intend to weld, just the mm either side of the weld. The gas is also toxic.
Initially the best thing to do is just move round tacking the floorpan in all places and several times along the trans tunnel joint, ie every 3-4cms. So you now know for sure its all where you want it to be.
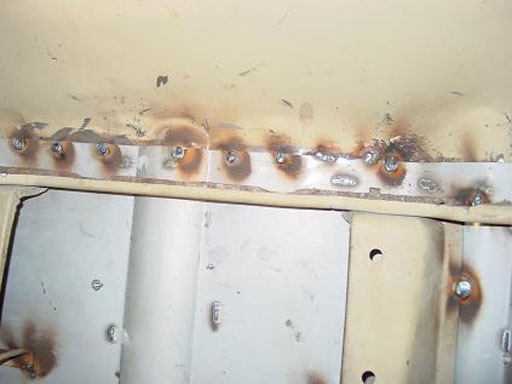
Once it comes time to weld the long joint along the gearbox tunnel it needs to be done in lots of tiny bursts of welding with plenty of time to cool down inbetween otherwise you will end up with a slightly wavy finish as the metals cool at different rates etc. So weld a bit, go to the other end weld a bit more, then go tack somewhere else, remove a few tech screws have a drink of beer then repeat. Do this till its all done along the lenght of the joint and everywhere else is welded to your satisfaction.
Once this is done grind down the welds till they are fairly neat and tidy, of course your welding could come out neat and tidy and you wont need to grind at all, but due to the nature of lots of small welds joining etc its not going to look perfect until you grind it back a bit.
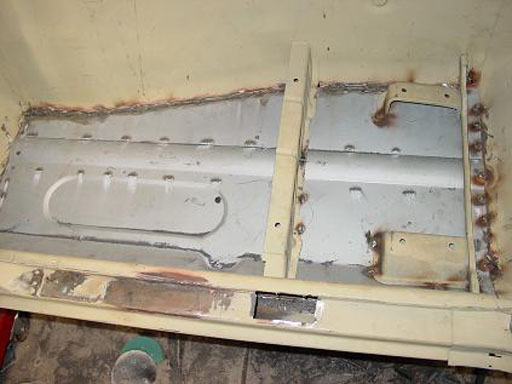
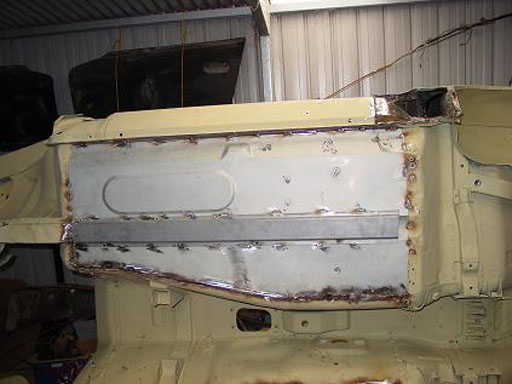
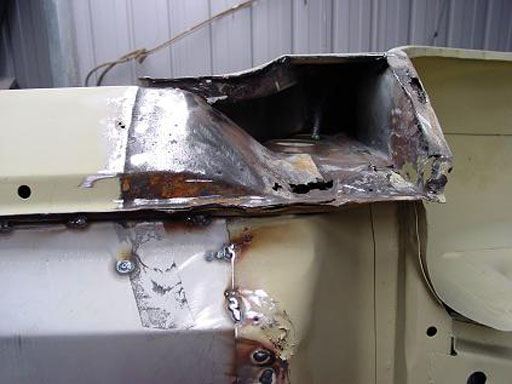
15: So once the floorpan is welded in its now time to add the underfloor frame rail, my pans didnt come with one so I went to the local engineering shop and for 20bucks had him bend up two bits in the right profile, slightly longer, thicker and zinc coated.
These were tech screwed into place and welded in fairly straight, now would be the time that I recommend a few less beers during the above welding process, one of mine is about 2mm out, stuff all in the scheme of things, but still frustrating.
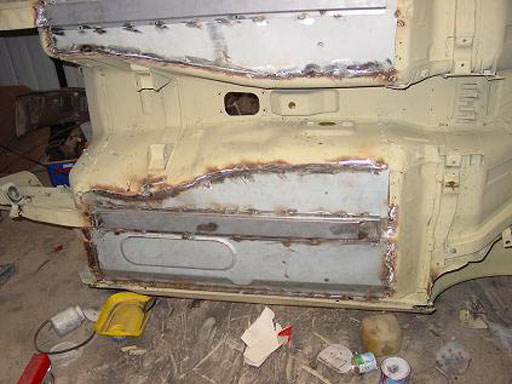
As you can see on the Left side I still need to close off the end/bend it down then weld it.
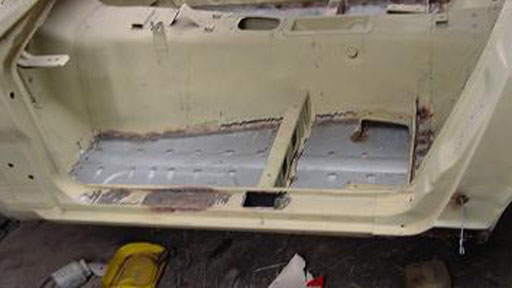
16 So now the floorpans are just about in, reinstall the back seat mount if you took/tore it out (see #7 & #8 above) and fill up any remaining tech screw holes with mig. The next thing to do would be to cover welds with a waterproof primer, or in my case continue the fun of welding.
NOTES:
3.I will remeber to bolt up the trans X member next time I have to do a set of floorpans.
4. I'd also be cautious about doing both floorpans at once though, I made a point of completing one before even removing the other one, theres not a lot of strength in the old Z shell without floors I wouldnt have thought.
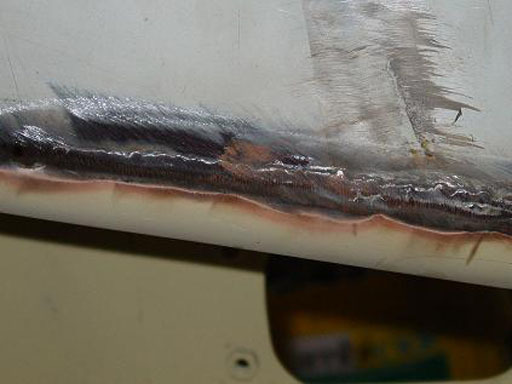
As can be seen by the last photo below, I still have a shedload of welding to go before I can be considered to be "done".
Happy floor pan replacing
Chris