How to install adjustable tension rods
By Jim Morford, II

Let me begin by saying that over time I began to notice a slight tendancy of the car
to pull to the left. After some time, I determined that I would go to have it aligned.
Everything seemed to be okay, except for my caster, which was out of whack. The
alignment gentleman told me that I should go to a frame shop to have it straightened.
This did not strike me as something I wanted to do. Fortunately, with the resources we
have in the IZCC mailing list, I was able to learn that adjustable tension rods were
available to change the caster of the vehicle. I ordered these from Stillen, at a cost of
around $350.
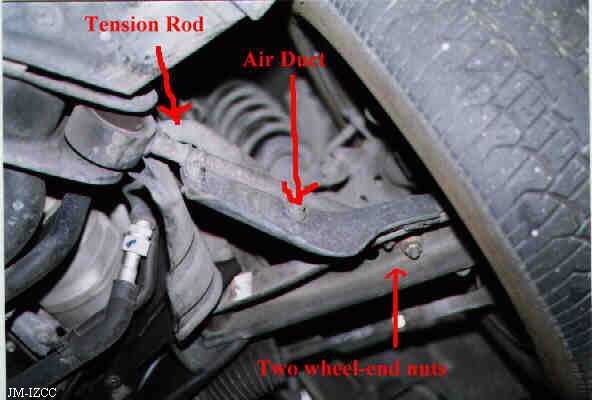
Above we see the Z lifted into the air, exposing the tension rod. The first (and easiest) step
is to remove the air duct. I believe its purpose is to send air into the front brakes for
cooling. Next, you will want to remove the big bolt at the end of the rod. I believe this
is a 17mm bolt, but don't quote me on that. To make your job easier, loosen the undercover
around the end of the rod. These are 10mm screws.
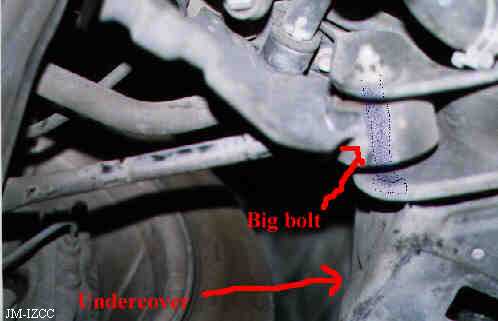
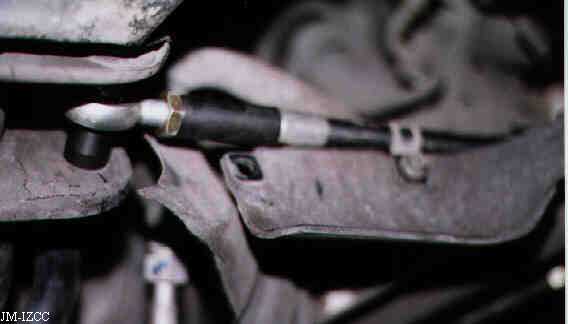
Above is the rod showing a poorly sketched in bolt and the undercover.
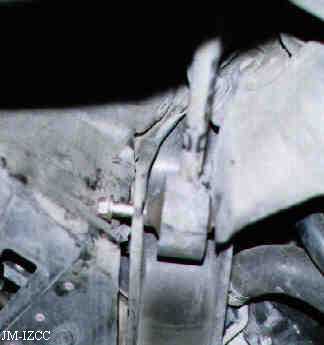
Above here you can see the big bolt pulled out slightly. (Tougher than it looks!) This was
enabled by the moving of the undercover slightly. Once removed, that end of the rod is free!
Now, if you'll refer back to the first picture, you'll see two nuts near the wheel. (Forgive
my naming of parts, but I don't know their proper names, so...) Those are also 17mm I
belive. Remove those, and the rod will not be "attatched" to the car, per-se, but you will
need a mallet to pound the bolts out of those holes. When you have the rod free, you will find
that the bolts those two 'wheel end nuts' were on are driven into the tension rod. We placed
the rod in a vice and used an air hammer to drive them out. You see, those bolts are toothed.
Once you have driven the toothed bolts out of the old rod, take the new rod, and try to
adjust it to be the same length as the old one. (As closely as you can.) Then you can begin
to install the new ones. I started by sliding the big bolt at the other end in, so that the
rod could hang from there. Then, I placed the toothed bolts in their proper place. The threads
come through far enough that you can get the nuts started on them. The bolts won't just slide
in, however, because there are no indentations for the teeth.
This is where the air ratchet came in handy. After the nuts were started, we simply "pulled"
the teeth down into the rod, making their own grooves as they went. With 600 ft/lbs. of torque
on hand, the air rachet can do what human hands can't. 8) Anyways, with the two wheel end
nut/bolt combos finished, we can tighten down the big bolt on the other end. Do your best to
replace the loosened undercover again. I found that a few bolts wouldn't go back in no matter
how hard I tried.
Also, replace the air ducts for the brakes. You will find that only one of the clamps will
fit, as the other one would go around part of the new rod that is too large for it. Someone who knew
this ahead of time could perhaps fashion a new clamp that was bigger, and still be able to use both.
Do this on both sides, and hopefully you should have no problems. Take the vehicle to have it
aligned, as you should with any suspension work. Show the alignment gentleman where to adjust
the rods, and he can put it in specs. (9 to 10 degrees). If, for some reason, you can't get them
to move all the way into spec, then set them as close as you can, and evenly. For example, I could
get my left side to 9.2, but the right side wouldn't go past 6 degrees. This would have caused more
pulling and excessive tire wear. As a result, I set them both to 6 degrees, which is as close to
spec. as I could get them both.